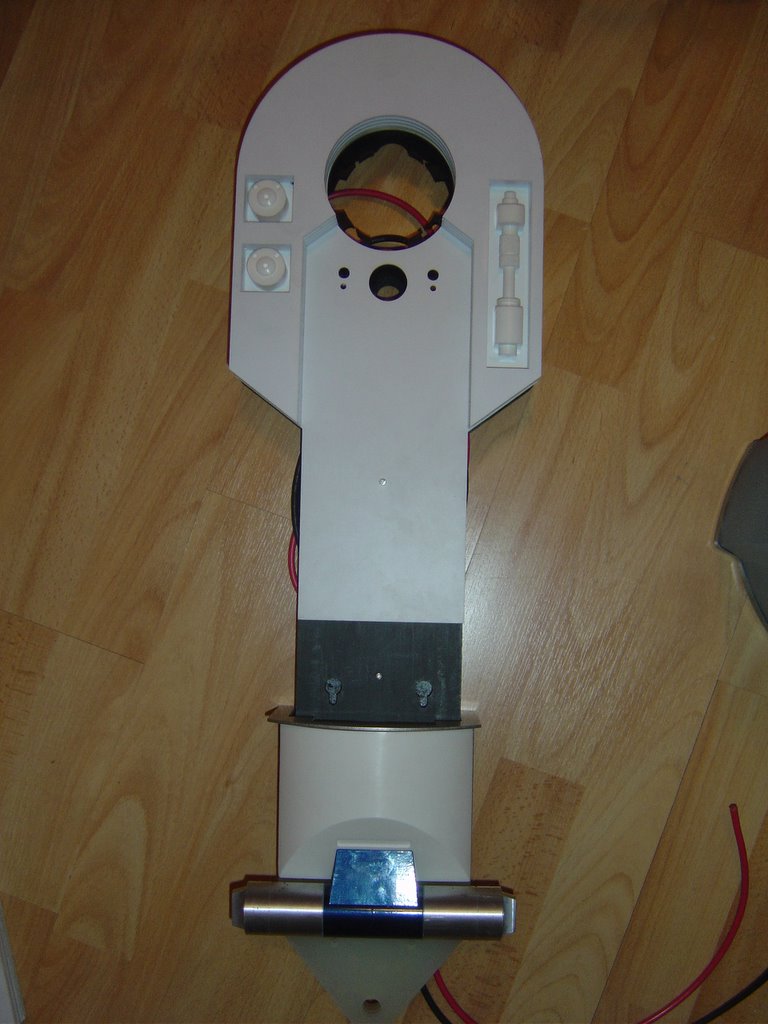
Tuesday, February 21, 2006

Test Fit


Decided to test fit some of the parts, still a lot to do but its nice to see how he is comming on.

Outer Leg and Ankle


Here I have split the centre ankle into two pieces this allows me to attach the ankle cylinder, wedge and Keith's resin Beefy. I have attched these with 5mm csk bolts.
when I am happy with everything I will attach the two pieces together ready for spraying.

Saturday, February 11, 2006

Finished vent


Completed vent ready to fit to the skins

Side vents


Finishe the front off the vents just need to make the back piece and spray it blue.

Side vents


After drilling holes in the ali I then got a file and broke all the drilled holes through.

Looks a bit rough but the next pic you will see with a little bit of clean up and patience it comes up good.

Side vents


I marked out the cutouts onto the ali and started by drilling holes all the way down

Horseshoe test fit


Test fitted the horseshoe just need to spray the buttons and hydraulics silver. the buttons and hydraulics are made from resin I brought these from Keith at resin parts.com

Ankle & Cylinder


Offered up the ankle cylinder and wedge, drilled and tapped the resin ankle piece then fitted with small 3mm screws.

Wednesday, February 08, 2006

Side view of the leg


This is a side view of the leg, you can see here the parts sandwiched together.
When they have been filled and sanded you will not see any of this.
Finally they will be primmed, top coat and laquered.

A & A Legs


Just started on R2's legs, these legs are laser cut from a type of plastic they are then sandwiched together in layers.
There is a lot of work to do on them and I will need to do a bit of filling and prep work on them.
This pic shows the legs put together and the cable for the feet motors installed.